Opening hours
Once you have configured the general settings of your calendar, you can define the opening hours of your business. You can achieve this in the "Availability and bookings" menu.
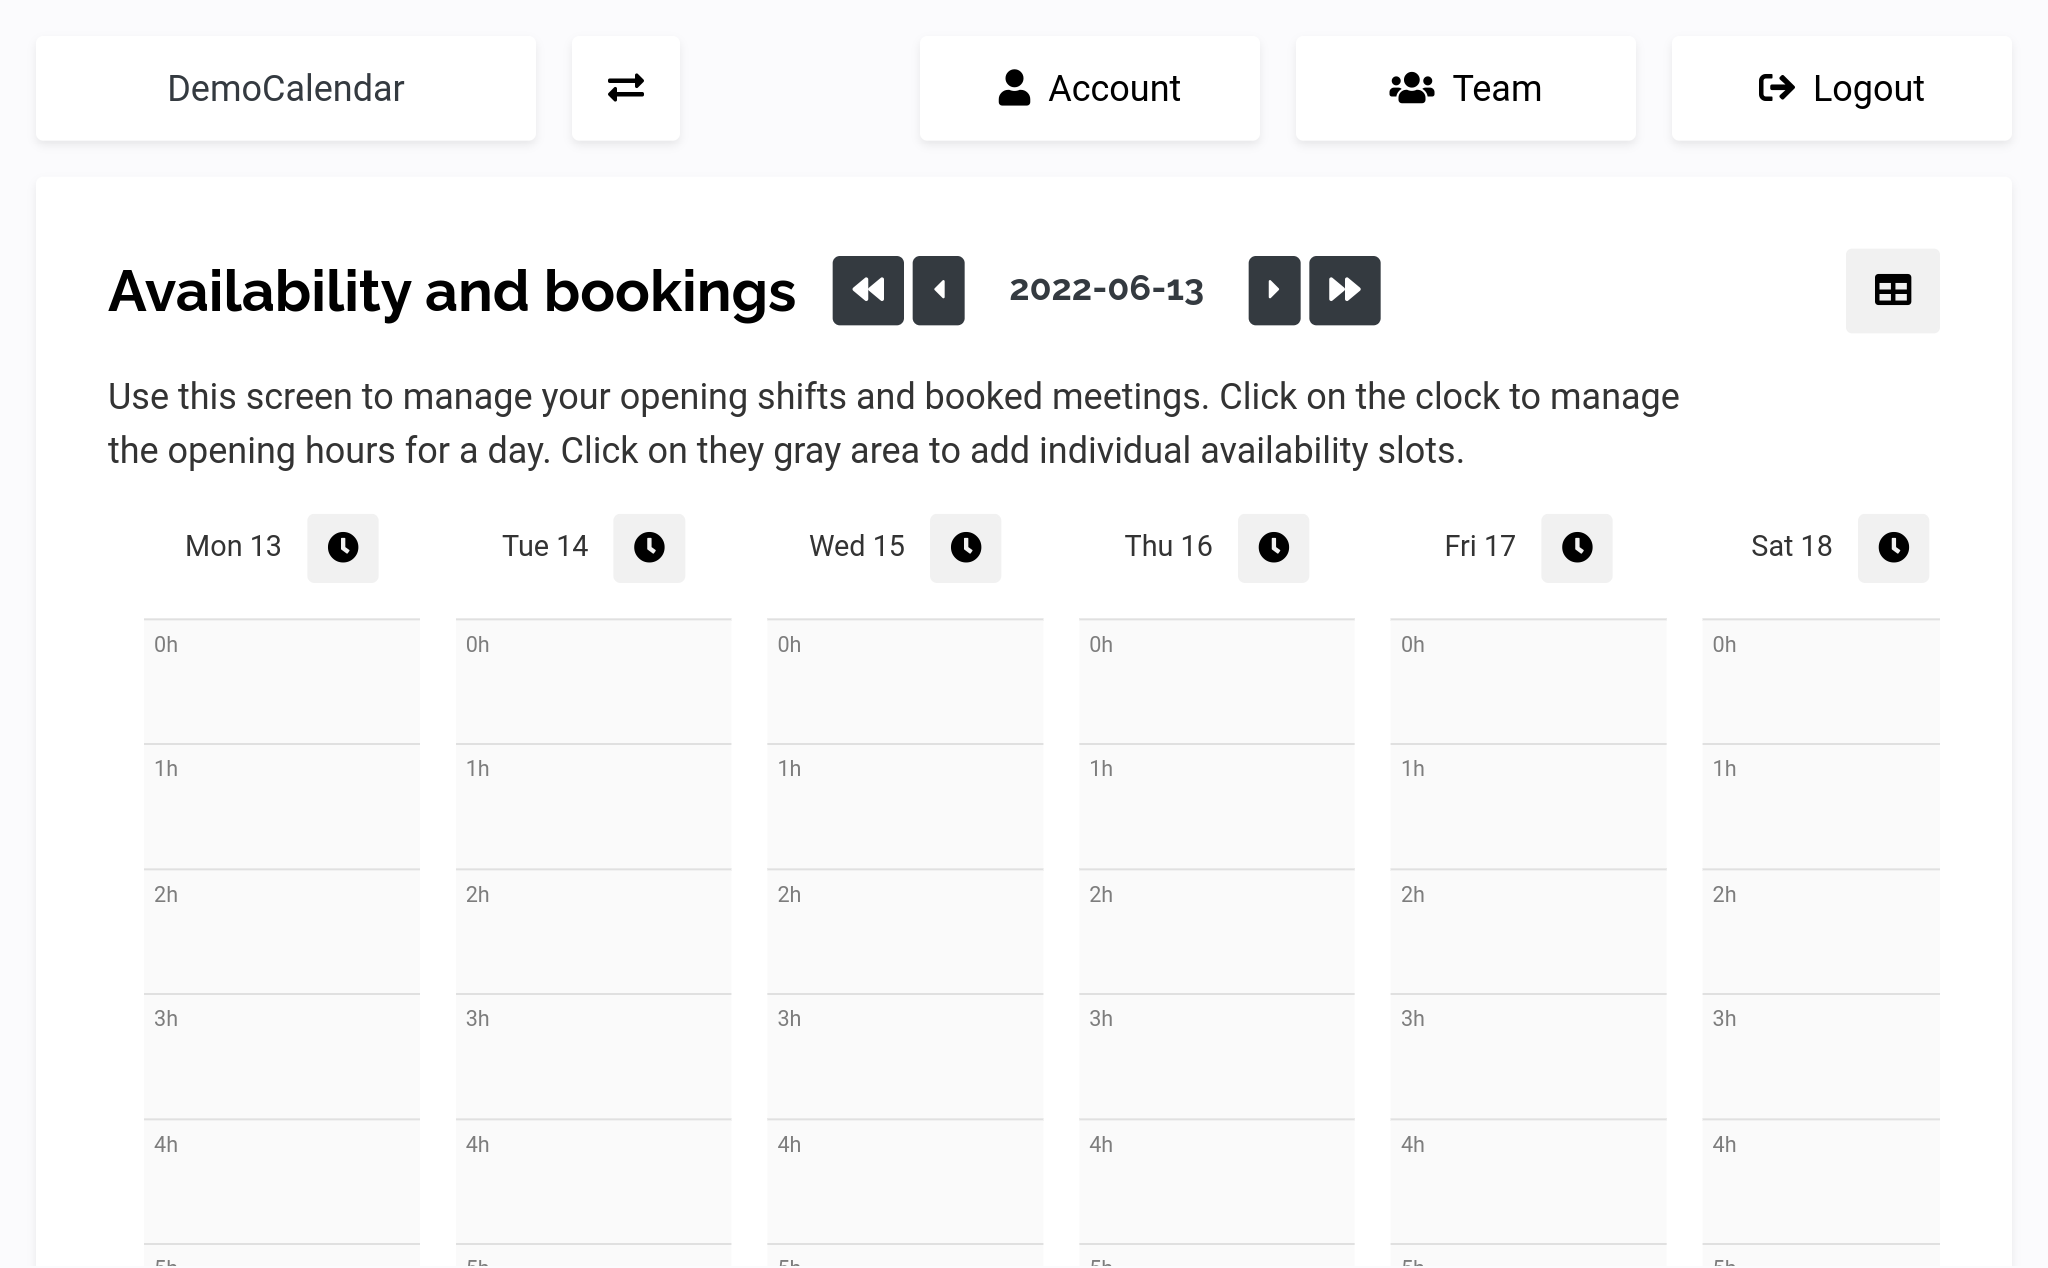
This screen has two main roles, define your opening hours, and see the bookings made by your customer. For this guide, let's focus on the first point.
Define recurring opening periods
By clicking on the small clock, you'll have the possibility to configure the recurring opening hours of your business (ex: if you are open every Tuesday). By default, any period that is not configured as "open" will be automatically considered closed. But, don't worry, you can add exceptions later.

Once you'll have configured your recurring opening hours, they will show up in green, with a solid border (depending on your settings, there may be a number inside indicating the number of places available).
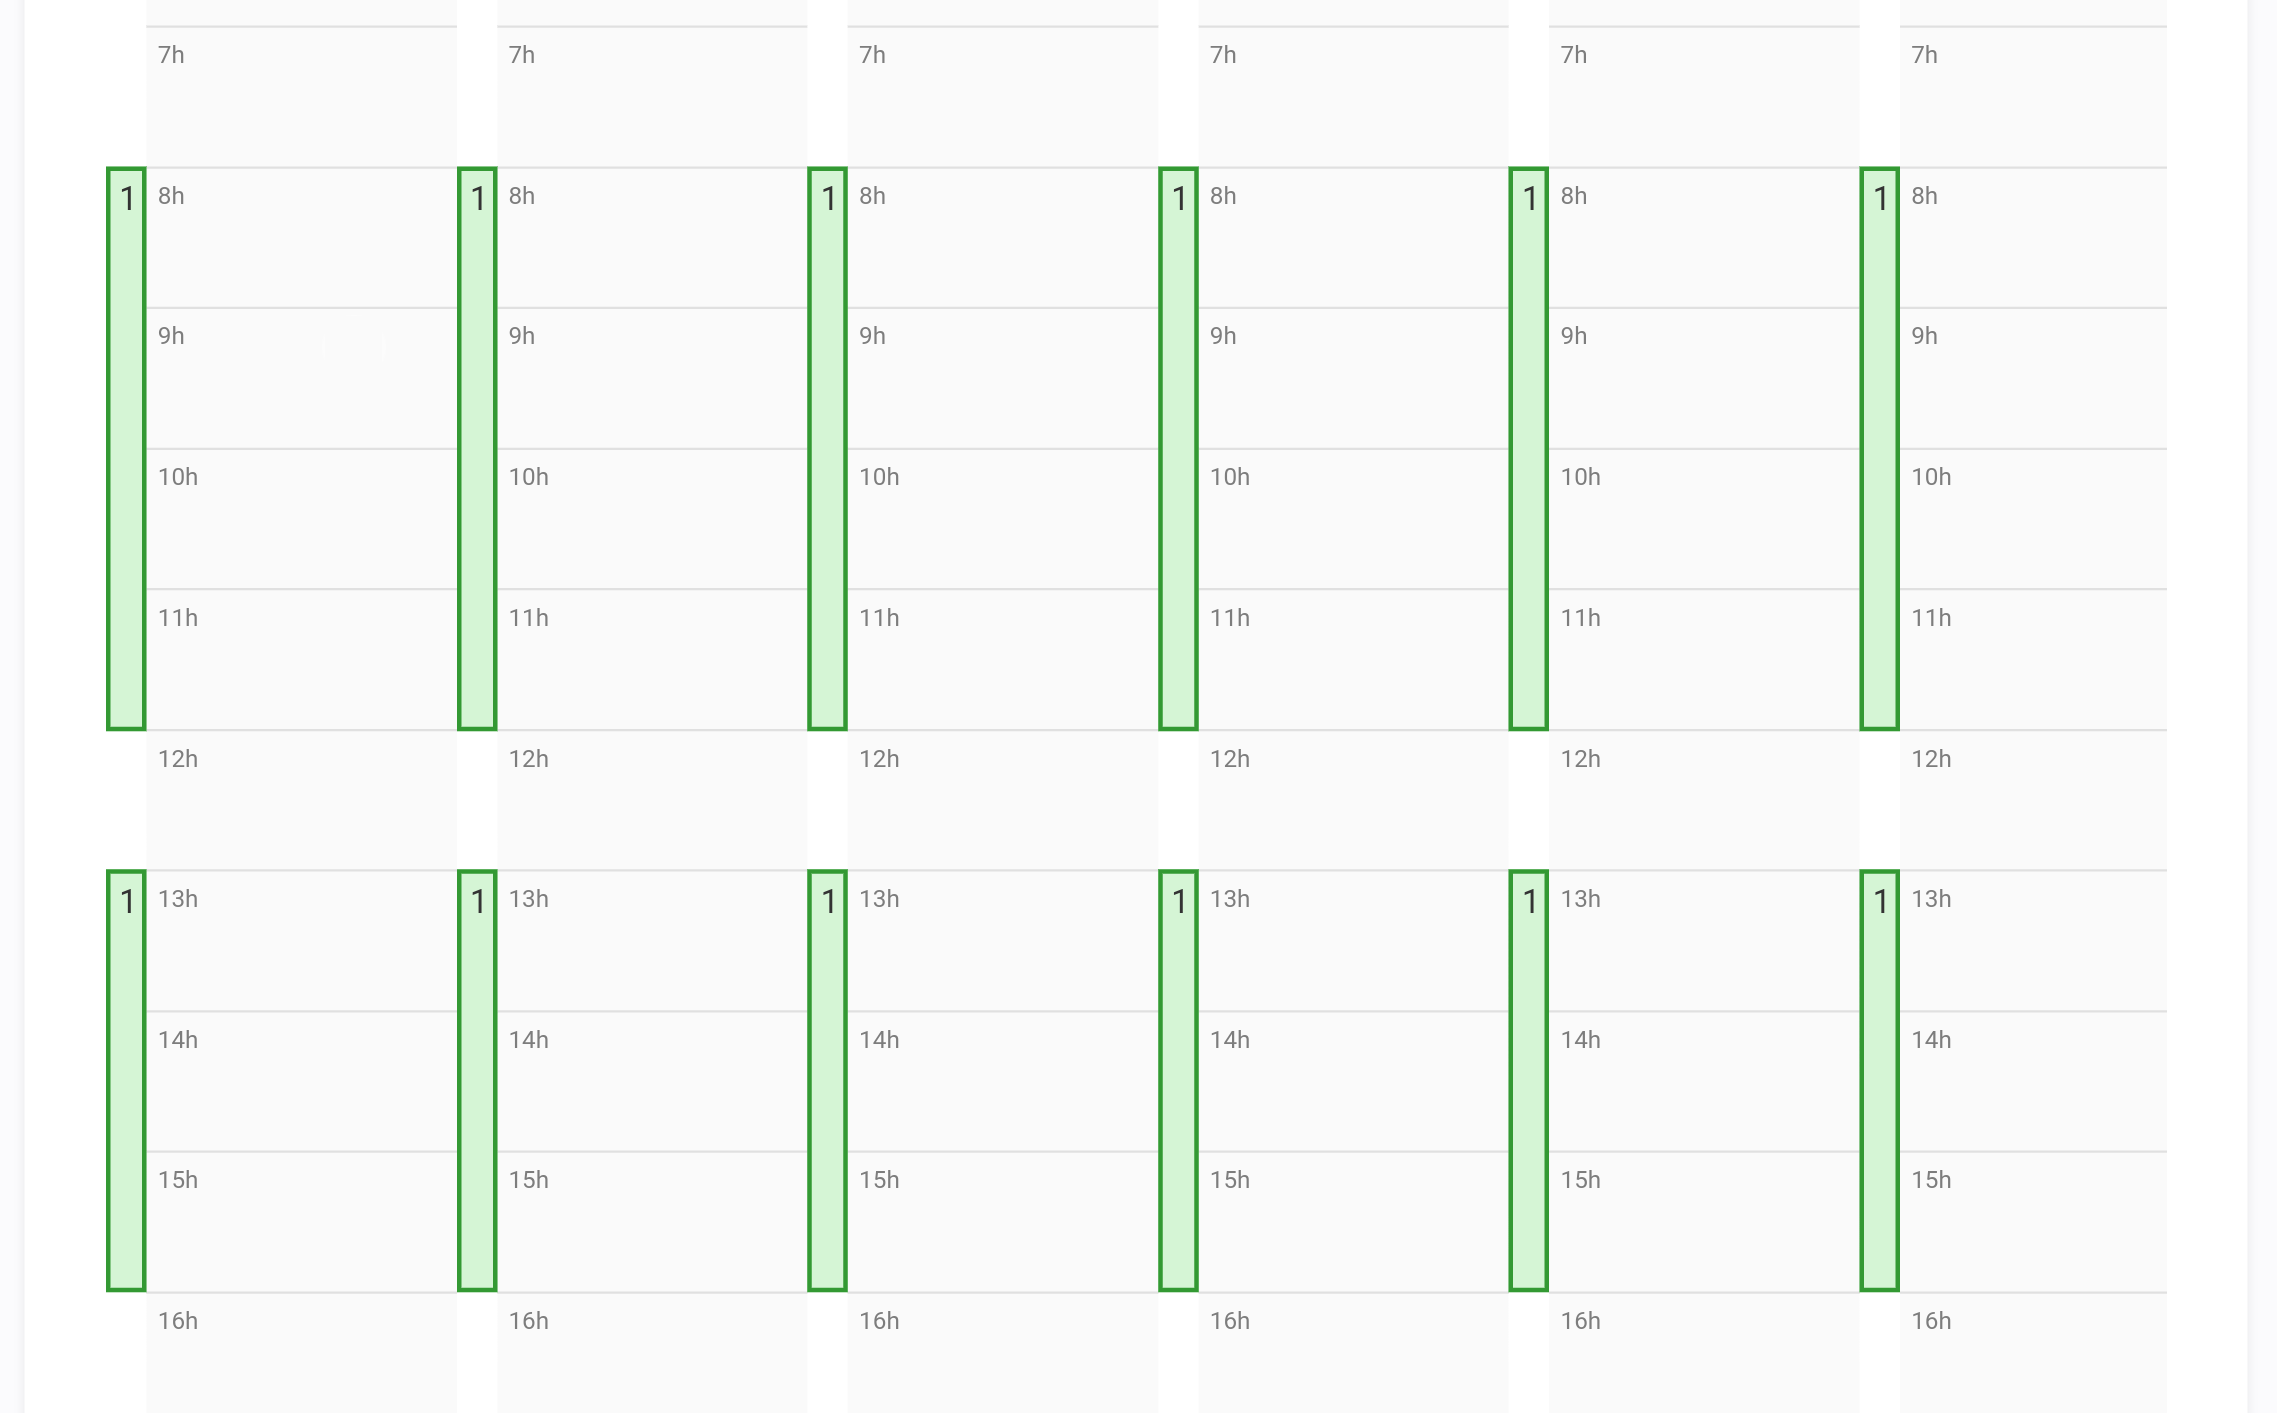
If you need to edit them later, just click on the green area or the clock at the top of any column.
Define specific opening periods
Of course, it's not because you are generally open from Monday to Friday that it's always the case. If you want to configure an exception, such as an exceptional holiday or a specific opening period, that's also possible. All you have to do will be to click on any gray area in your booking calendar. You'll arrive at a screen like this:
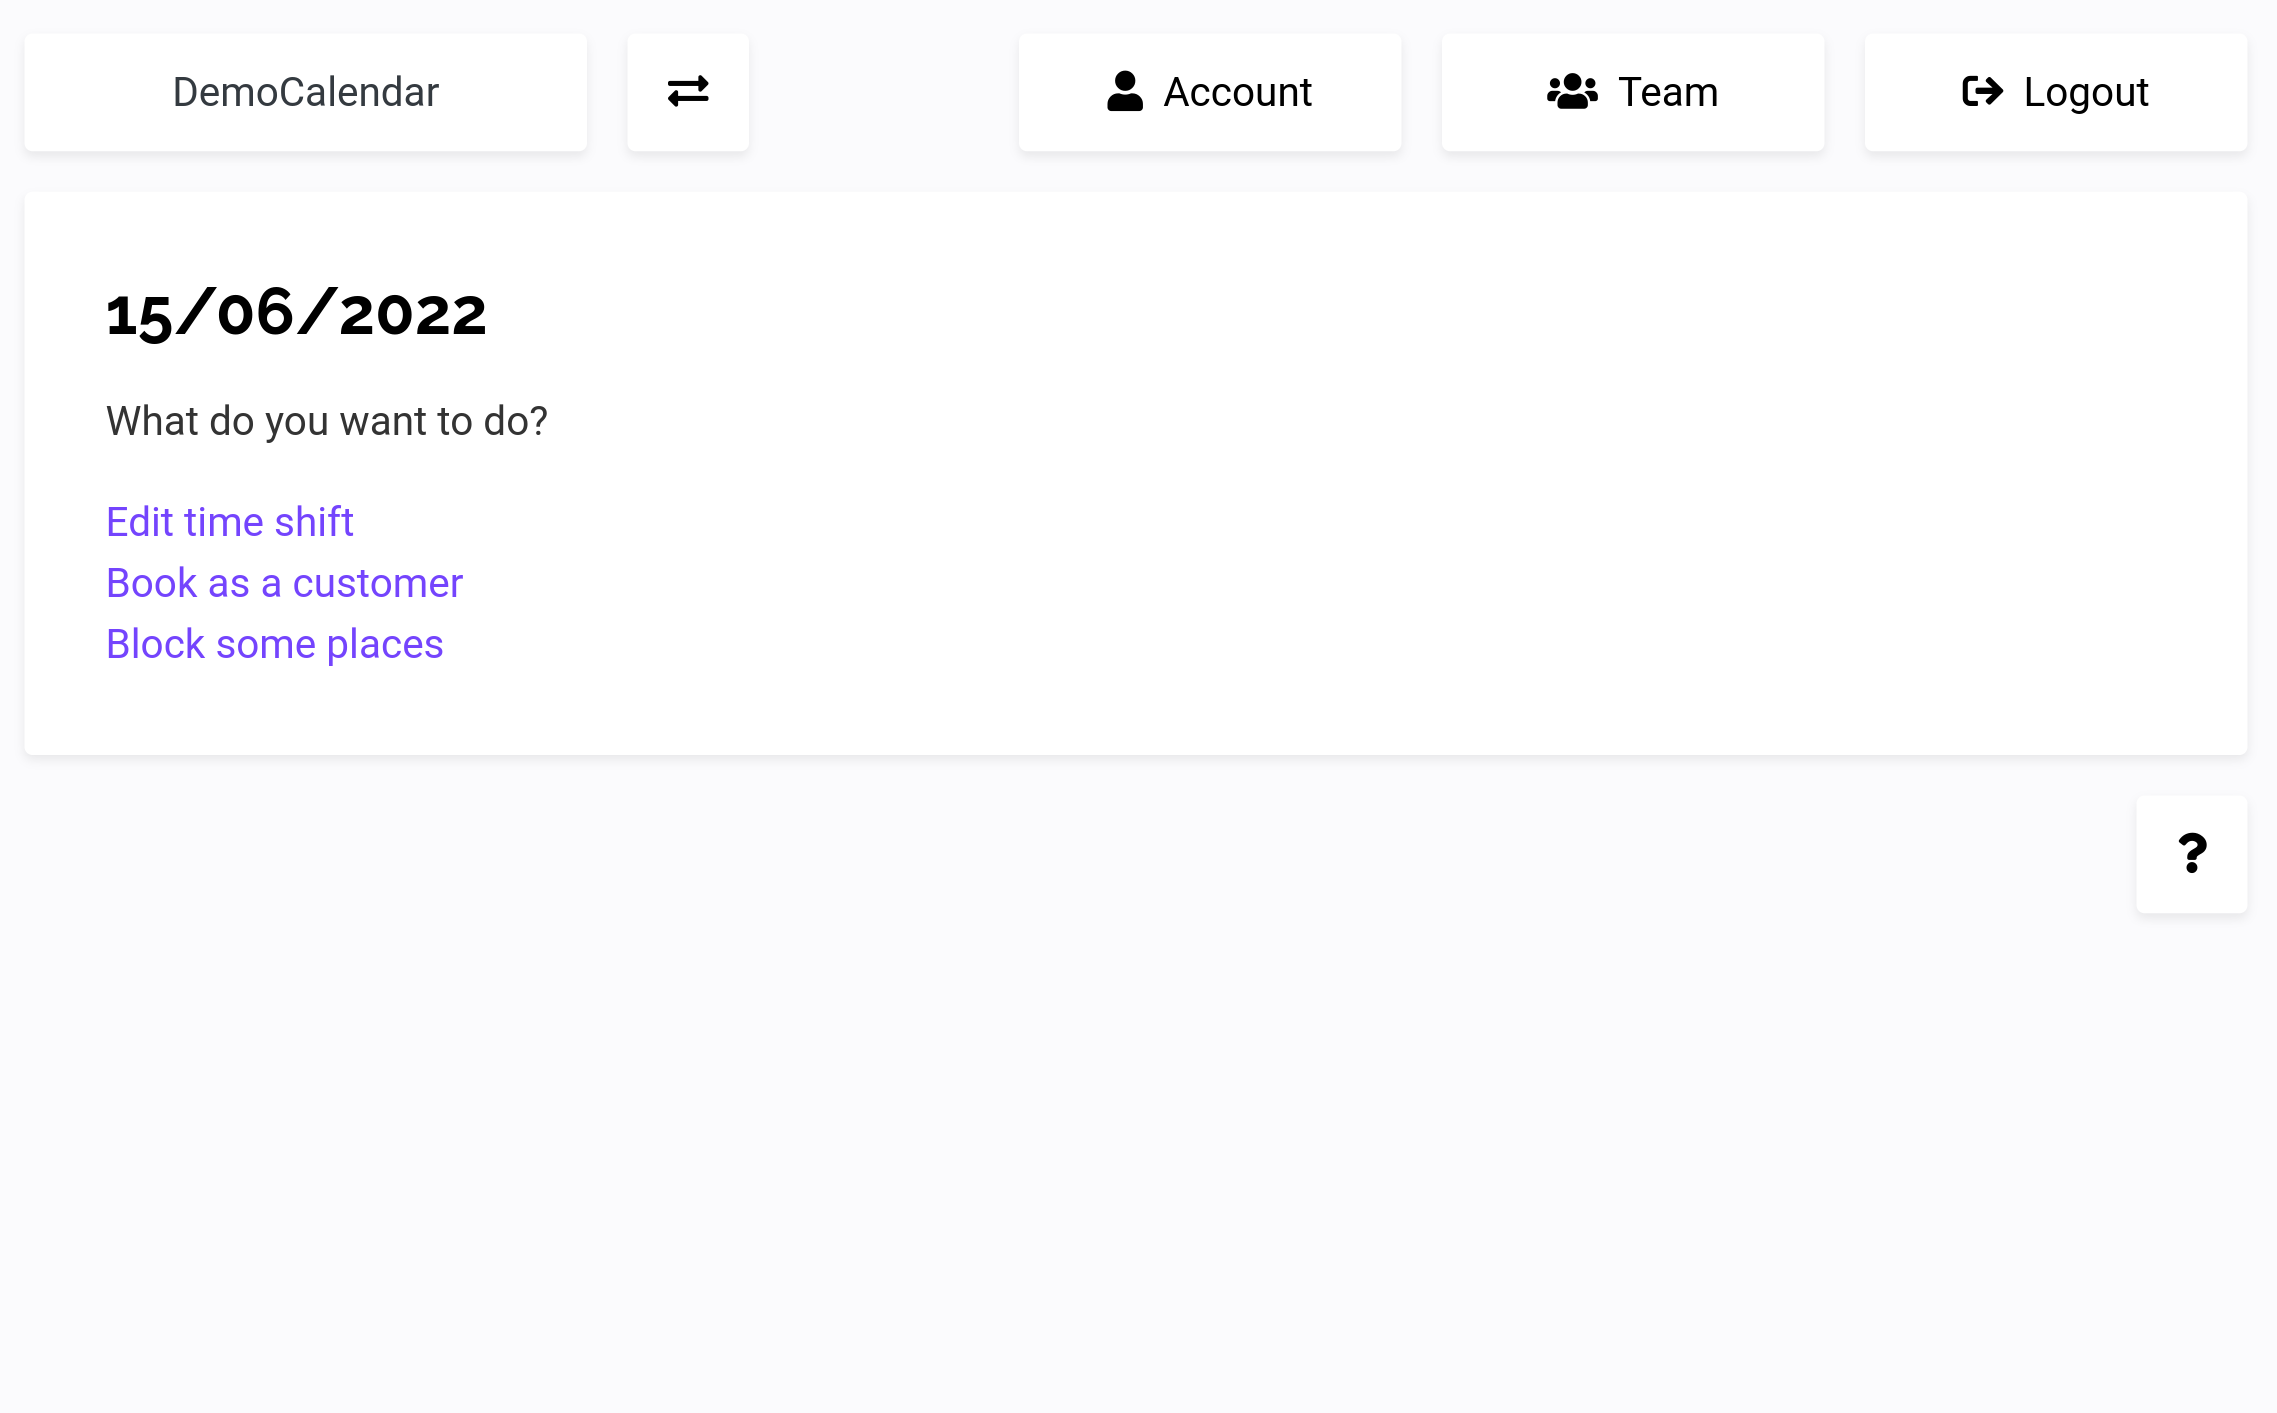
Just click on "Edit time shift", and you'll be redirected to another page:
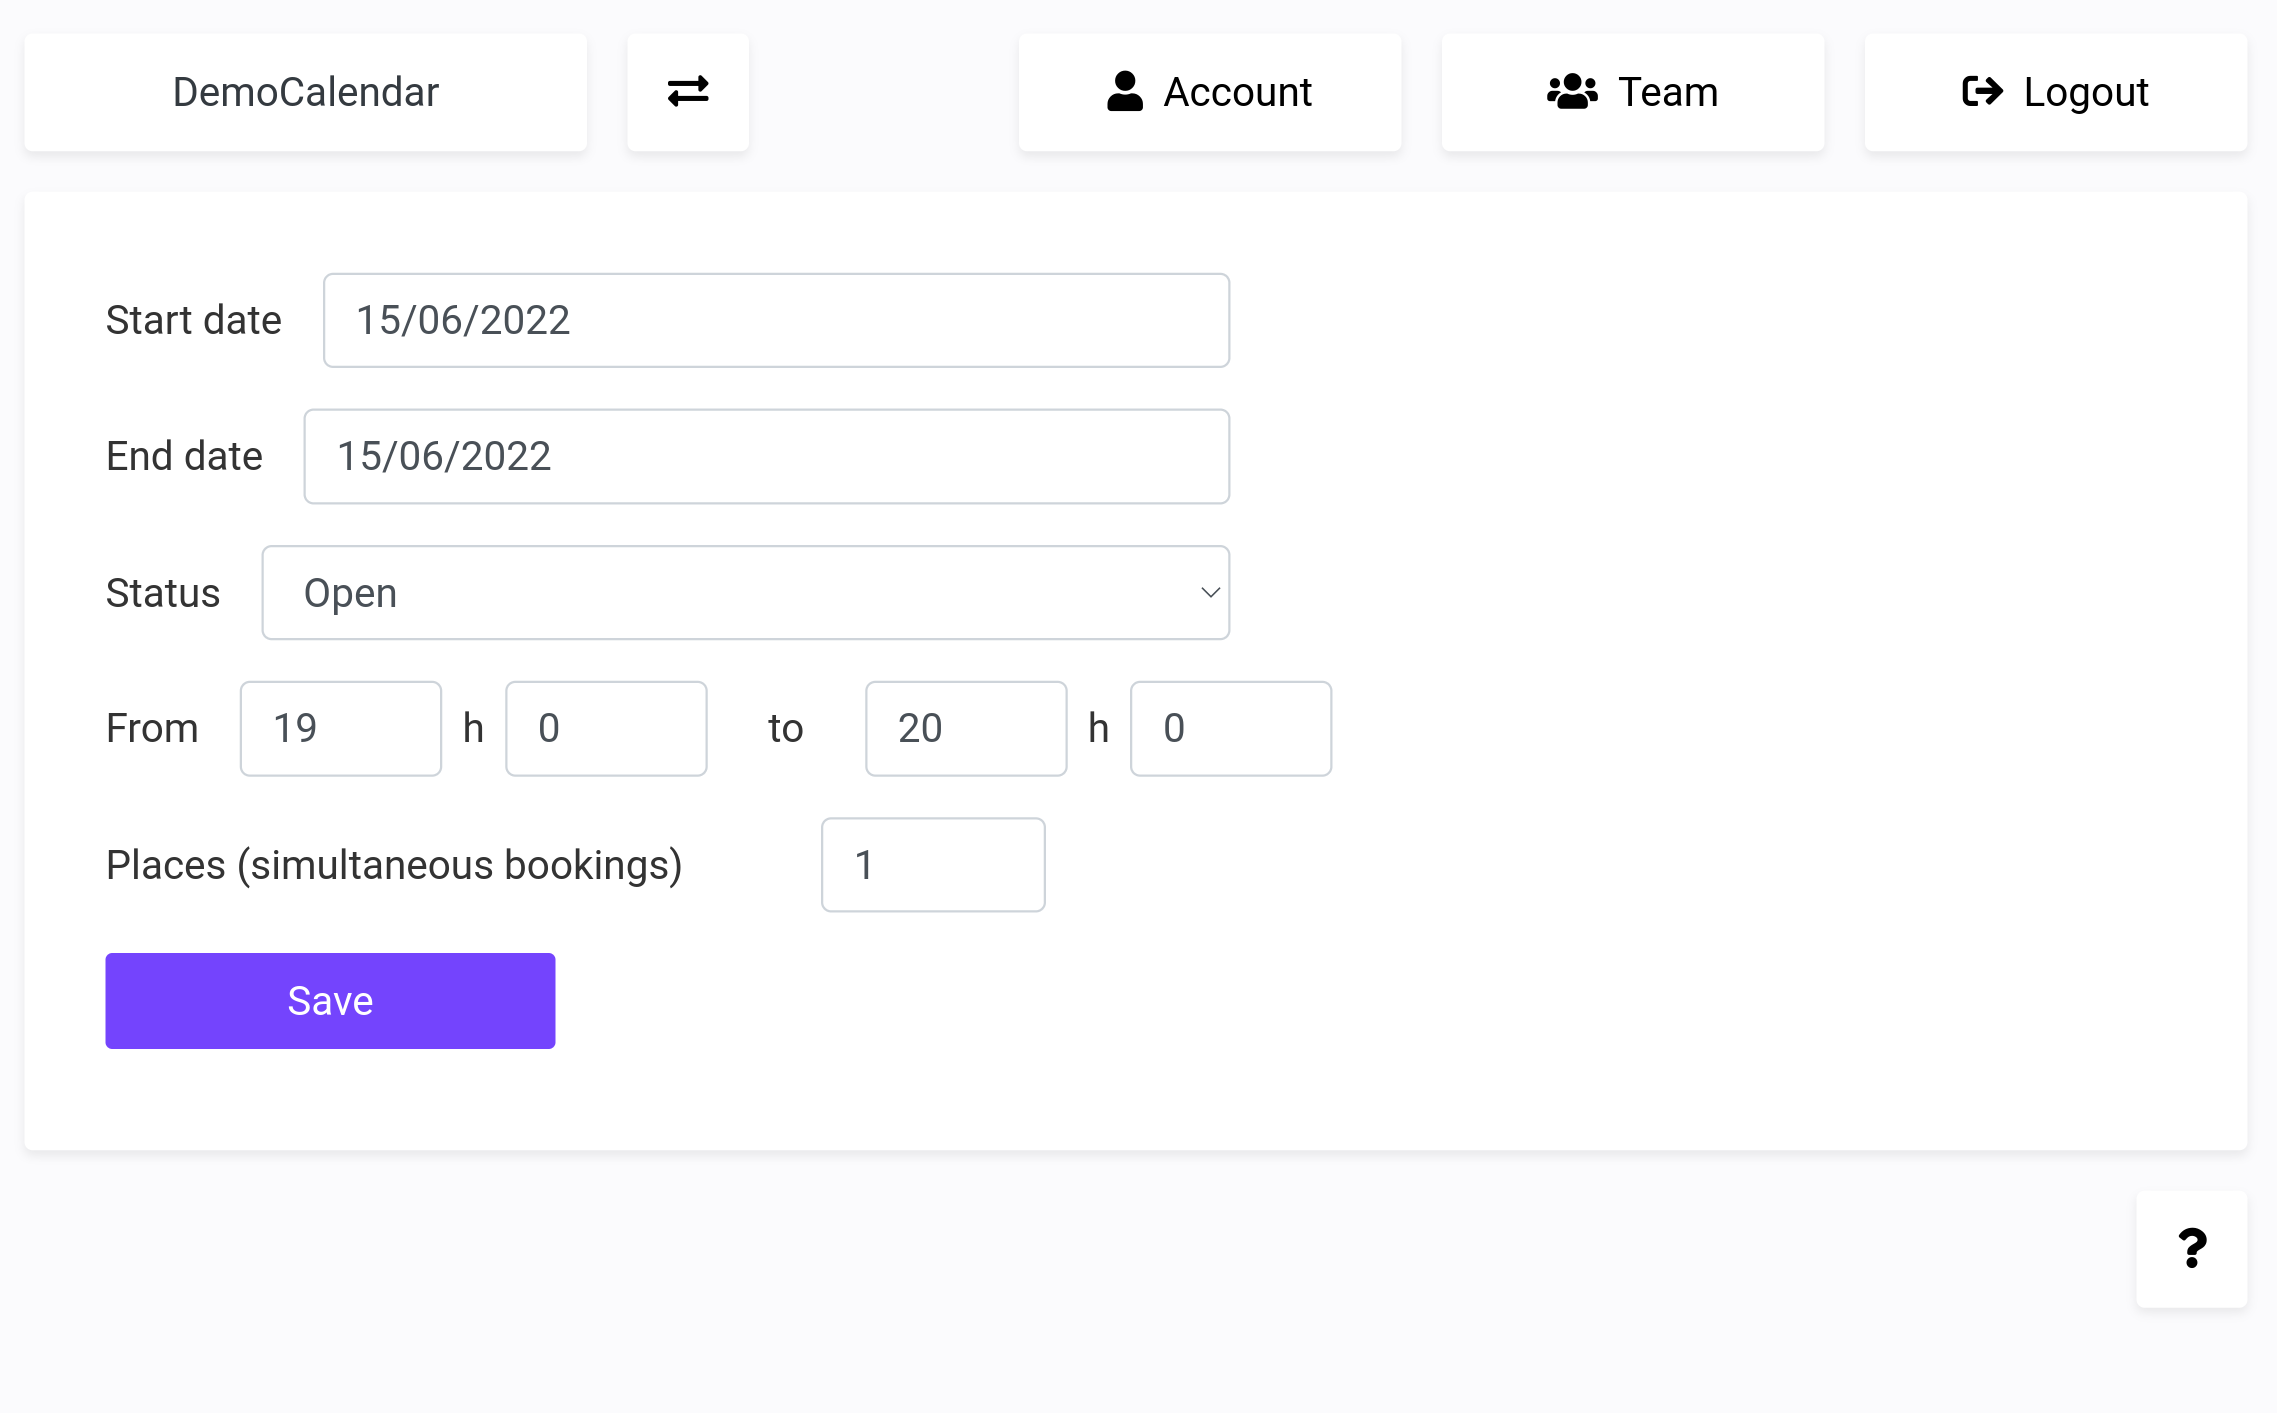
From there, you'll be able to define an exception to your main opening shifts. Just indicate a date range, select "open" for an exceptional opening period, "closed for a holiday", and click on save.
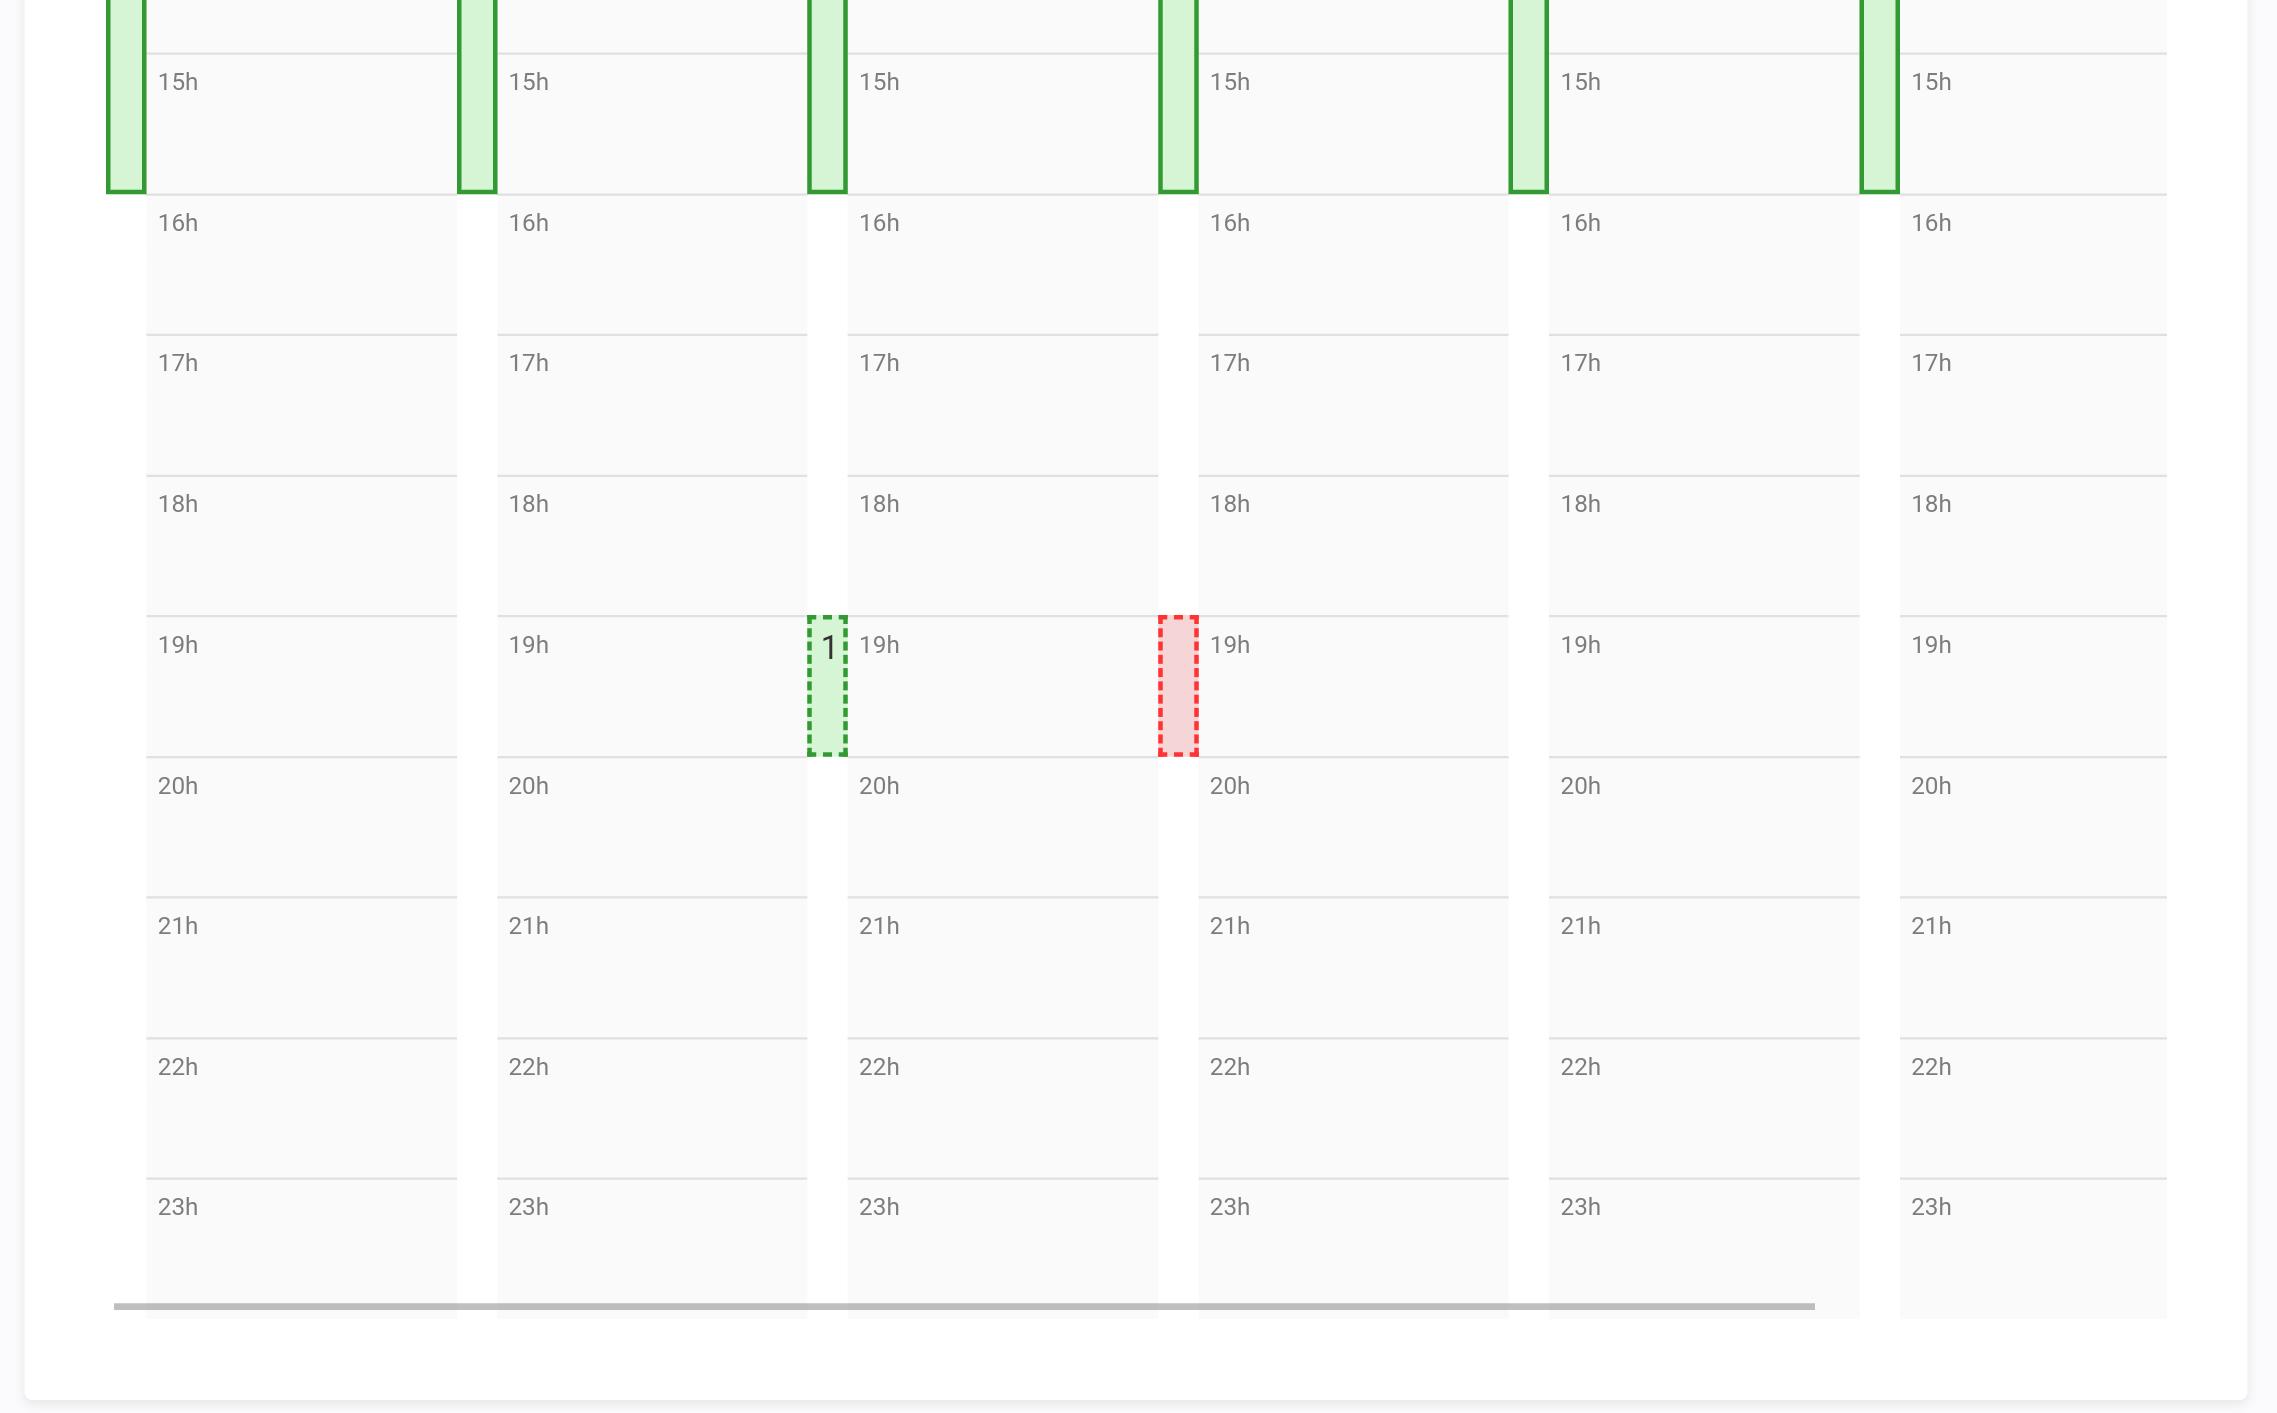
Compared to recurring shifts, specific opening period are displayed in your calendar using a dotted line.
If you want to edit them later, just click on the red or the green area.