Calendar settings
You can access your calendar settings by clicking on the "General settings" menu on your home screen. This is the screen that contains the main settings of your calendar. It defines important elements of your booking workflow.
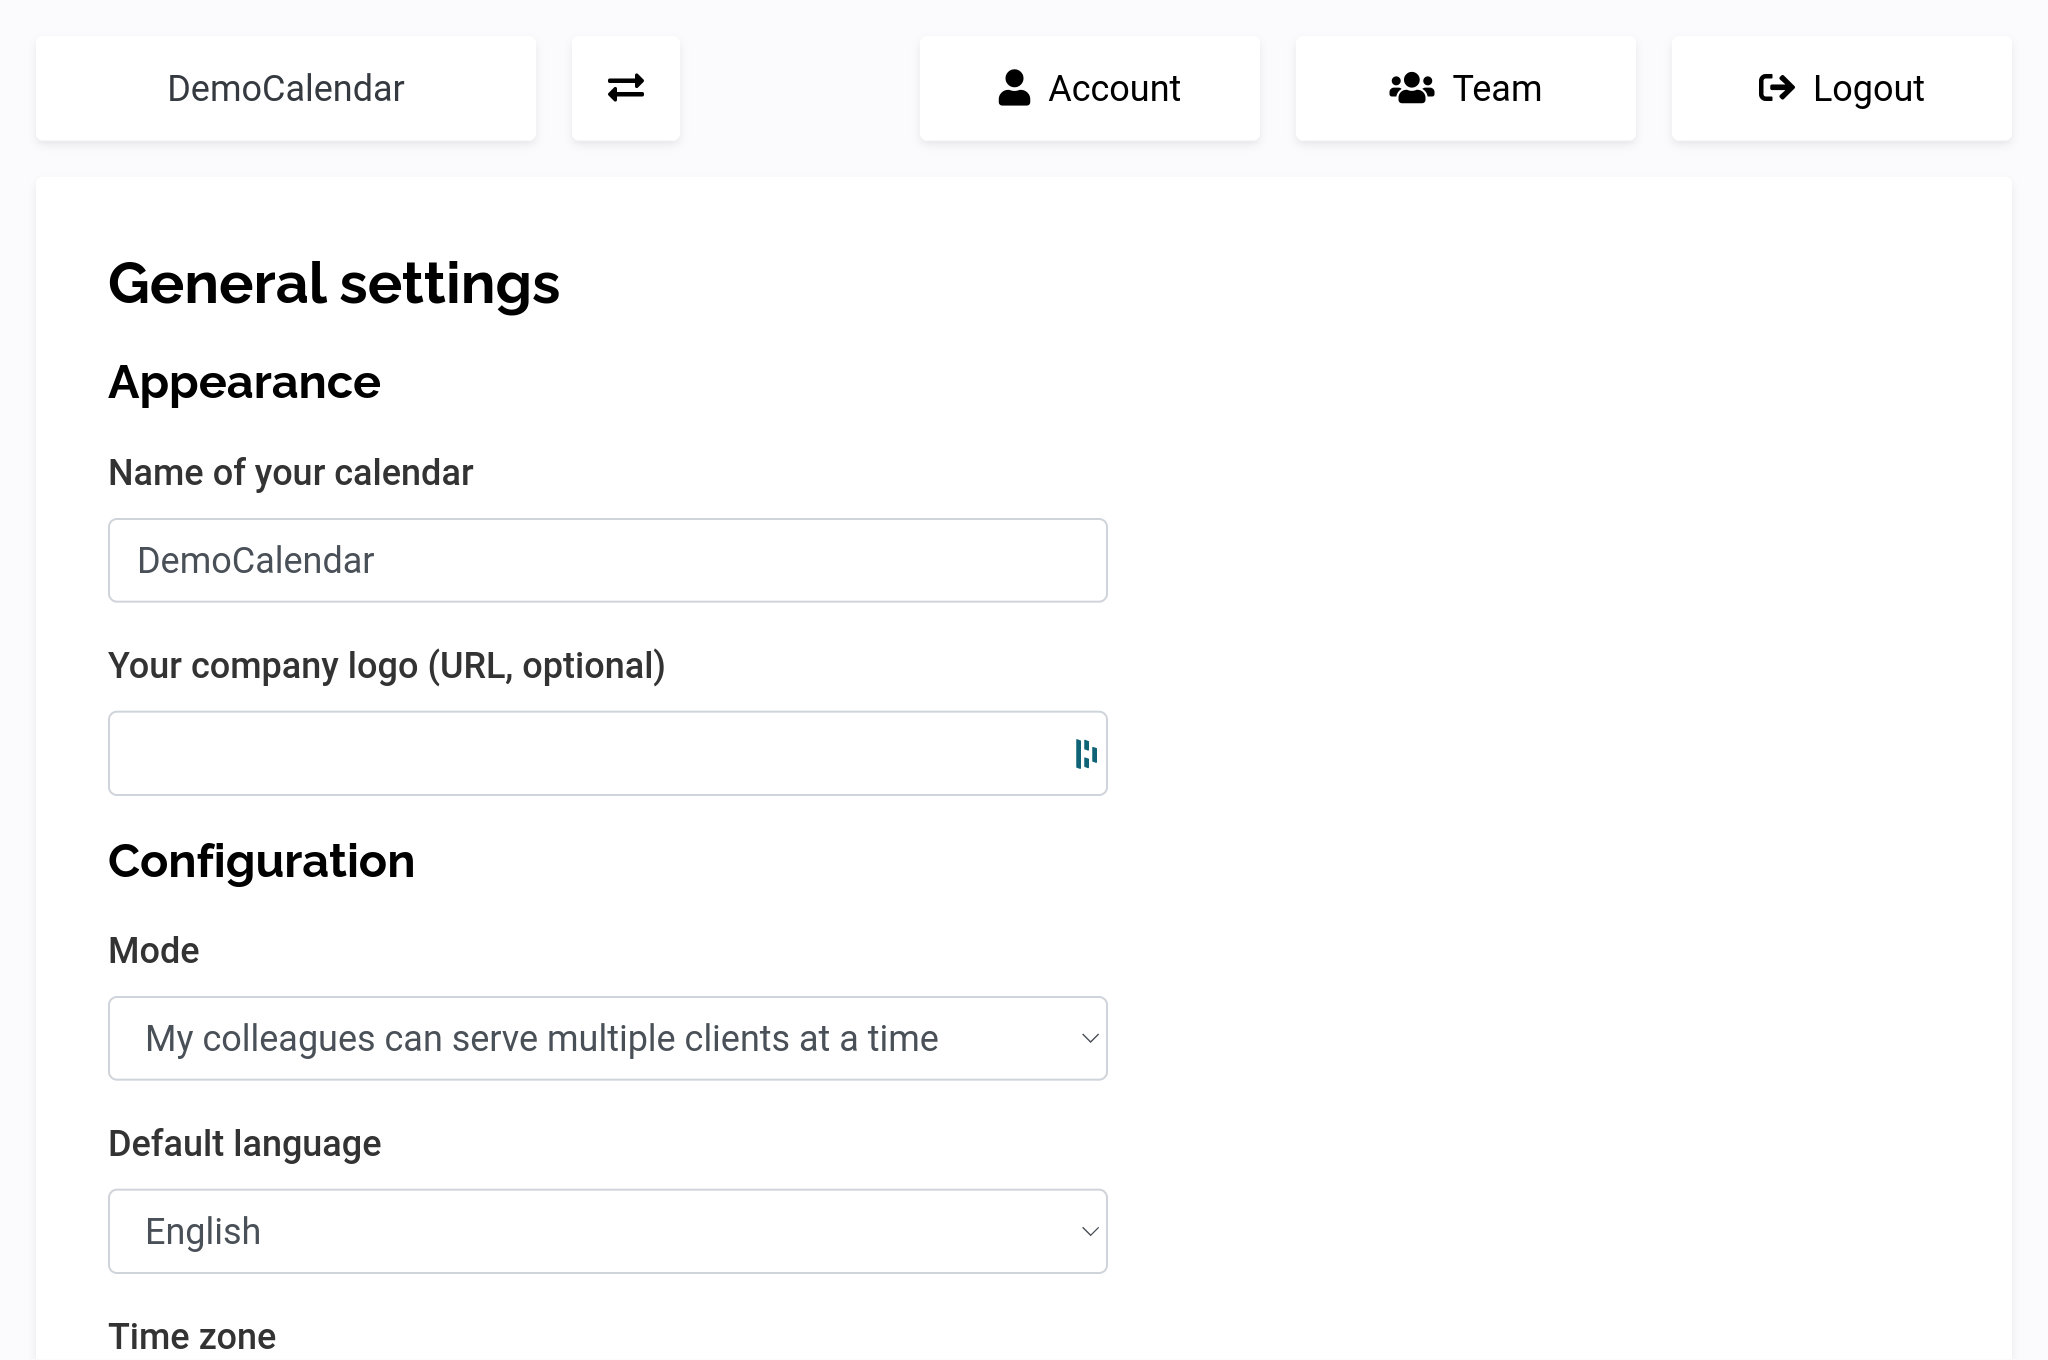
This screen is made from multiple sections:
Appearance
This section contains some general information about how will your calendar will be displayed to your users. Especially, it contains two elements:
- The name of your calendar, as displayed to your users
- An optional link to your company logo
Configuration
This is the most important part of the calendar settings. It contains the list of settings that will influence your workflow:
- The mode, that is used to define if you allow a person to serve multiple customers at a time
- The default language (which can be configured later)
- Your working time zone
- Some information about the time between two bookings
Custom fields
This section allows you to configure custom fields, which is a list of questions you can ask your customers before any booking. It can contain optional, as well as mandatory elements of different types (number, text, ...).
Redirection pages
By default, all of your customers will be redirected to a blank page indicating "Booking successful". If you want them to go to a specific screen of your website, you can fill in this area. URL in case of success is the target for successful bookings. URL in case of a problem will be used when the bookings are not successful (ex: because someone booked the last available slot before you confirmed, ...)
Assigned users
If you are using Datelist with multiple colleagues, this is the place where you can set up who will work on this calendar. This setting will influence the number of available places if you enabled the setting "one colleague can serve one client at a time". This will also be used to automatically assign a user to a reservation.